Taken Screenshots can help you capture and share key data displayed on your computer screen, providing valuable visual evidence. Knowing how to take an ASUS laptop screenshot could prove extremely advantageous when trying to document an issue or share visuals with someone.
We will explore various methods for taking screenshots on an ASUS laptop, from simple shortcuts to advanced tools – so that you find one that best meets your needs!
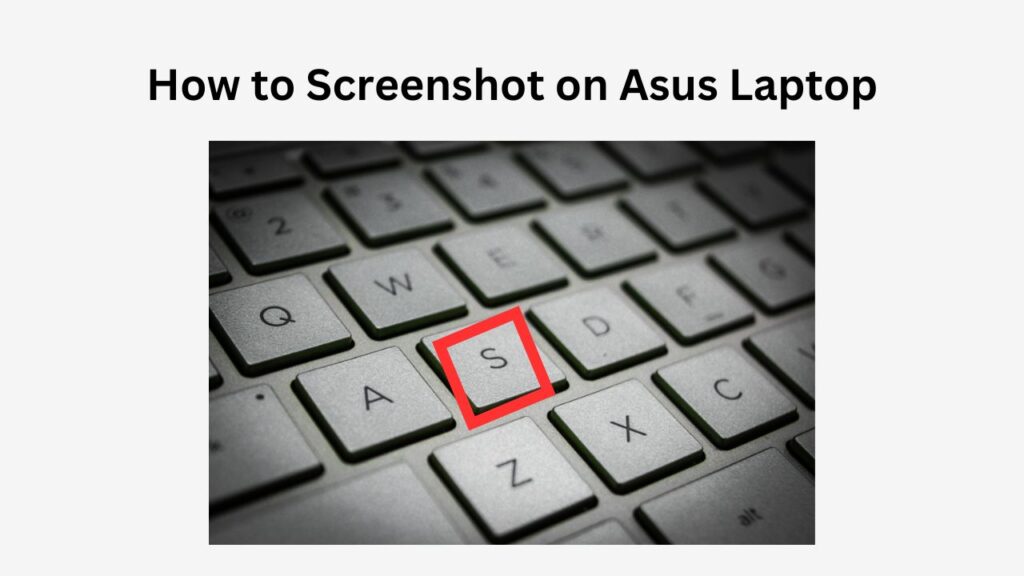
Take a Screenshot Using Windows + PrtSc Key
For quick and efficient screenshot capture on an ASUS laptop computer, the Windows + PrtSc (Print Screen) keyboard shortcut provides one of the quickest methods.
Steps for taking screenshots:
- Firstly (Windows key and PrtSc key simultaneously). When this has taken effect,
- The screen will briefly dim to signal that a screenshot was captured.
- These will automatically be stored under This PC > Pictures > Screenshots
You can access your screenshot by copy-pasting it directly from your clipboard into an editing program (such as Paint) using Ctrl + V.
Take a Screenshot of an Active Window (Alt + PrtSc)
To quickly capture only the currently open window rather than all of the desktop computer screen space, Alt+ PrtSc offers an efficient method.
- Steps for Capturing Screengrab: When you want to capture,
- Open the window you would like to capture
- pressing Alt + PrtSc
- Take a screenshot, copy and paste it into Clipboard for transfer of screenshot.
Simply copy-paste it into an image editor (such as Paint or Word ) using Ctrl + V, save, and use this method to isolate just a specific window without including other parts of your desktop screen. This approach works particularly well if you want to capture only certain aspects of the display without taking photos of other areas on screen as well.
Use the Snipping Tool
Utilize the Snipping Tool Windows includes an inbuilt Snipping Tool which makes taking customized screenshots more straightforward, offering options such as selecting areas, windows or all of the screen at once.
Steps for Snipping Tool on Windows:
- (Open it first. Then select New to begin taking screenshots. Additionally, various snip types like Freeform, Rectangular Window or Full-screen may be chosen as screenshot formats).
- Once your screenshot has been captured, the Snipping Tool allows for editing and saving directly within itself. Ideal for users wanting greater flexibility over what area to capture.
Switch To Snip & Sketch Tool (Windows + Shift + S)
To take screenshots in an updated manner, Snip & Sketch provides an intuitive experience by replacing traditional Sniping Tools with its more modern counterpart: providing smoother edit options as well as an easier interface. This method gives a superior end product when editing screenshots.
- Steps: To open the Snip & Sketch toolbar, press Windows + Shift + S and choose one of these three options.
- Retractable Snip: Cut rectangular portions off of your screen by using this option.
- Freeform Snip: Capturing any shape by drawing around it; Window Snip: Target specific windows in an image file.
- Fullscreen Snip: Capturing an entire screen. Your screenshot will be stored in your clipboard; from here it can be pasted directly into an image editor or used to edit and save via a notification that appears after taking.
Take Screenshots With an Xbox Game Bar (Windows + G)
Looking to take screenshots while gaming or using apps? The Xbox Game Bar can be an invaluable asset – most often used for recording in-game footage but also capable of taking snapshots!
- To access the Game Bar, press Windows + G.
- Once there, choose Capture from the drop-down menu,
- Press the camera icon to capture a screenshot.
- The screenshot will be saved in the Videos > Captures folder for easy retrieval later. Voila, this feature is ideal for gamers wanting to take high-resolution screenshots during gameplay!
Use Third-Party Screenshot Tools
Third-party tools provide additional capabilities for taking and editing screenshots on an ASUS laptop, including:
- Lightshot: An accessible free tool enabling easy screenshot capture and direct sharing.
- Greenshot offers more advanced capabilities such as annotation of screenshots uploaded directly to cloud services.
- Snagit offers extensive editing features as well as quick sharing capabilities; Steps offers additional steps-taking functionality.
Steps:
- Install the desired screenshot tool from its official website, following any in-app instructions to capture, edit and save screenshots.
- Third-party screenshot tools offer advanced features like annotations, instant sharing or multiple file format options that might better fit users who require enhanced screenshot capture/edit capabilities.
Screenshots on ASUS Chromebooks
To take screenshots on an ASUS Chromebook is slightly different due to the Chrome OS operating system.
Steps for Capturing Full-Screen Screenshot:
- For best results, press Ctrl + Show Windows (usually located above the 6 key).
- Your screenshot will then be stored in the Downloads folder.
Steps to Take Partial Screenshots:
- When taking partial shots press Ctrl+ Shift + Show Windows instead.
- Make use of your cursor to select an area for capture.
- Your screenshot will then be stored in Downloads for easy storage and sharing.
Voila, this method is great for Chromebook users looking for quick, straightforward ways of taking screenshots!
Conclusion
An ASUS laptop makes taking screenshots easy with various methods ranging from keyboard shortcuts and advanced tools like Snipping Tool or Snip & Sketch for taking screenshots, from basic keyboard shortcuts and Snipping Tool use up to taking full-screen snapshots or customized portions using these flexible methods of screenshot capture. These methods offer flexibility and convenience to meet all your screenshot needs.
ASUS Chromebooks make this process straightforward and user-friendly, enabling quick screenshot capture in no time at all.
Understanding all of the available methods enables you to choose one that meets your particular situation best. Be it for work, gaming or personal purposes – mastering these screenshot techniques will make life simpler and more productive!